Hardwood Floor Refinishing NJ — Trusted Experts in Wood Floor Restoration
Professional wood floor refinishing for New Jersey homes. Safe, dust-controlled, and beautifully restored — without replacing your floors.
Free Estimates
Background Checked Staff
Fully Licensed & Insured
Systemized Clean Process
About Us
We’re Hardwood Floor Refinishing Specialists
At Hardwood Floor Refinishing NJ, we’re not handymen. We’re trained professionals focused solely on refinishing hardwood floors, including re-sanding, staining, and protective finishes. Our wood floor refinishing services guarantee a great result everytime! Every team member is background-checked, polite, and highly skilled. We show up on time, protect your home, and follow a system built for safety, speed, and satisfaction.
Licensed Professionals
Quality Craftsmanship
Customer-Centric Service
See why clients say their floors look better than when they were new.
Complete Floor Refinishing Services for NJ Homeowners
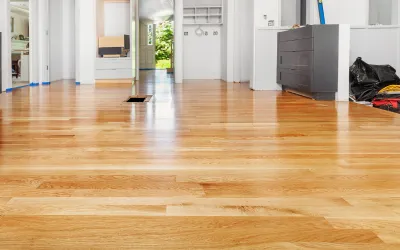
Hardwood Floor Refinishing
Bring your floors back to life with full sanding, staining, and sealing.

Hardwood Floor Resanding
We sand down to raw wood and apply fresh finishes that last.

Staining & Color Changes
Choose from light natural tones to rich, dark finishes.
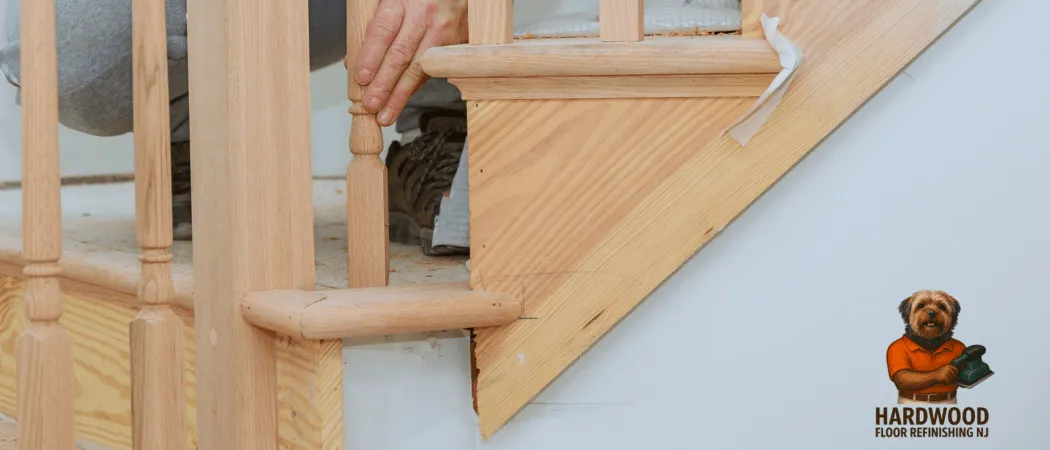
Floor & Stair Repairs
Scratch, split, or gouge? We replace boards and make it disappear.
Low-VOC Eco Finishes
Durable like oil, but no yellowing over time, Minimal odor, move furniture back quickly. Safe for the family & pets once applied and dry.
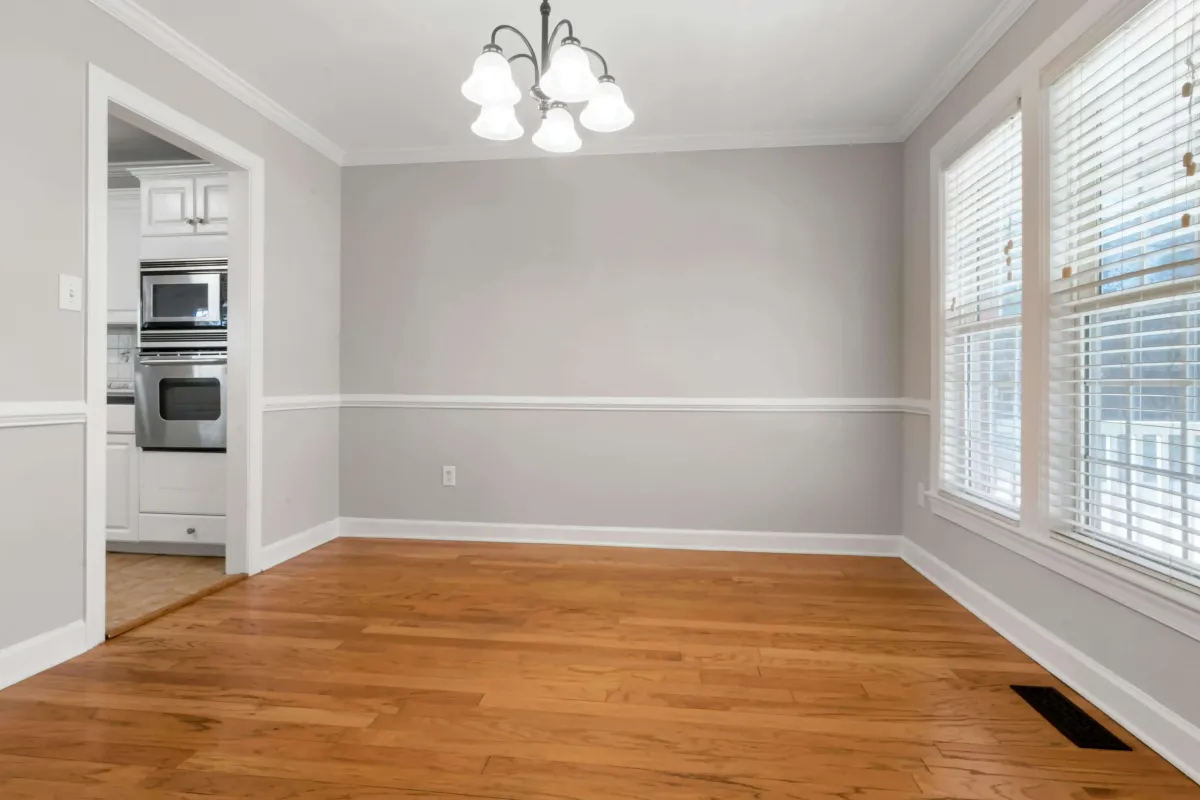
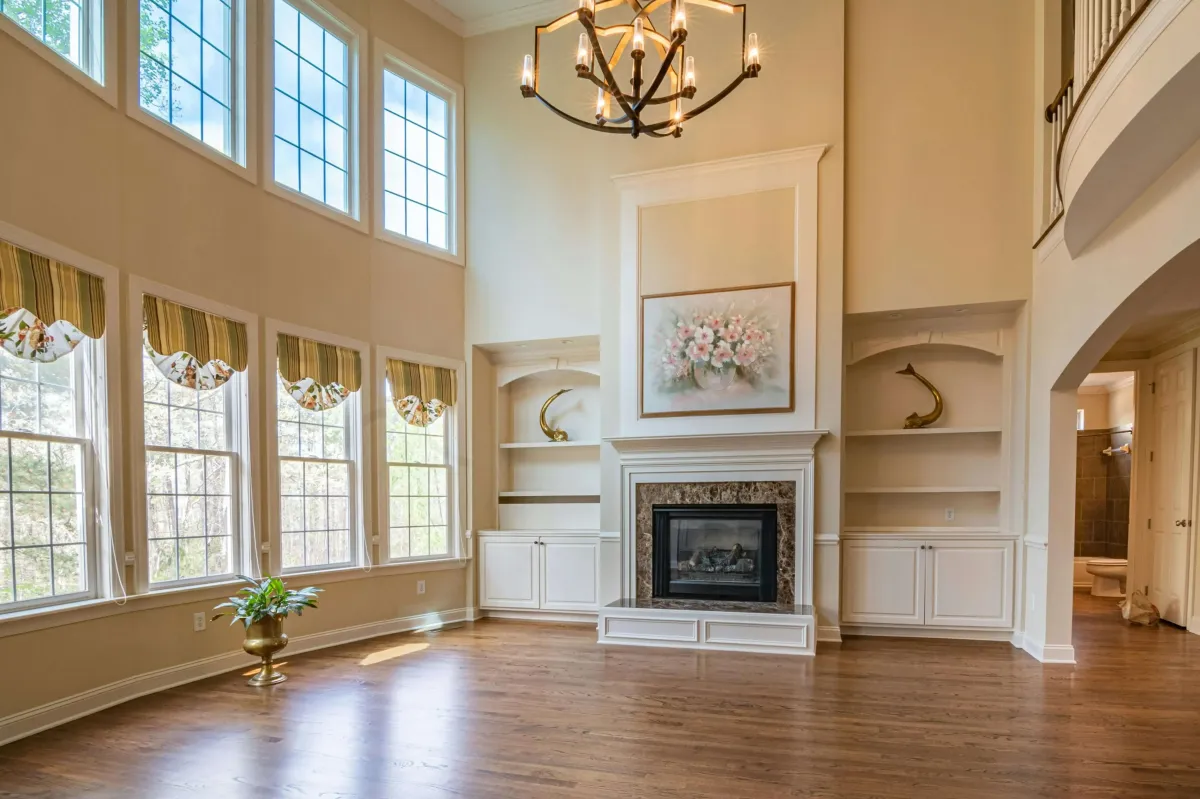
Our Work
Customer Testimonials

Our floors look brand new. The team was clean, fast, and professional. I felt safe the whole time.

Mike R.
Millburn, NJ
They refinished our old oak floors and matched them perfectly to our stairs. Couldn’t be happier.

Sarah L.
Warren, NJ
Reliable, expert service. They ensured everything was dust controlled which was my biggest concern.

Lisa G.
South Brunswick, NJ.
Why Choose Us
What Makes Us Different
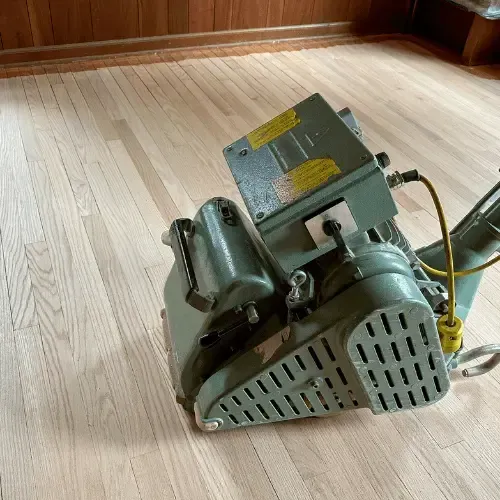
Dust-Contained Equipment
We use dust-contained sanding equipment to protect your home and keep your air clean. Traditional hardwood floor refinishing can leave fine dust everywhere. Our system minimizes that mess by capturing dust at the source, so you don’t need to deep clean your home afterward. Safe for families, pets, and people with allergies.
Polite, Professional Crew
Our crew shows up on time, in uniform, and ready to work. We’re not handymen — we’re full-time hardwood floor refinishing professionals. Every technician is background-checked, polite, and trained to follow a clean, respectful process. We keep you informed every step of the way and treat your home like it’s our own.
How long does hardwood floor refinishing take?
Most hardwood floor refinishing projects take 2 to 3 days for an average 1,000 sq ft home. That includes sanding, staining, and sealing with fast-drying, low-VOC finishes. Our systemized approach means no delays or downtime, just clear timelines and guaranteed start dates.
Ready to love your floors again?
Free estimates. Guaranteed start dates. Get a quote today.
Services: Wood Floor Refinishing • Hardwood Floor Resanding • Floor Wood Refinishing • Stair Restoration • Low-VOC Finishes
312 highland ave, Piscataway NJ 08854
Contact
© Copyright 2026. HardWood Floor Refinishing Nj. All Rights Reserved.
Privacy Policy
Terms of Use